Photographing Follies: A Checklist for Better Composition and Light
Follies are awkward subjects. They perch on hilltops with the sun behind them, disappear behind summer trees, and often stand on private land a field or two from the nearest footpath. None of that makes them less rewarding to photograph — it just means a little planning pays off. What follows is the working checklist for a folly shoot: what to carry, when to go, where to stand, who to ask, and how far to push the editing afterwards.
Start With Less Kit Than You Think
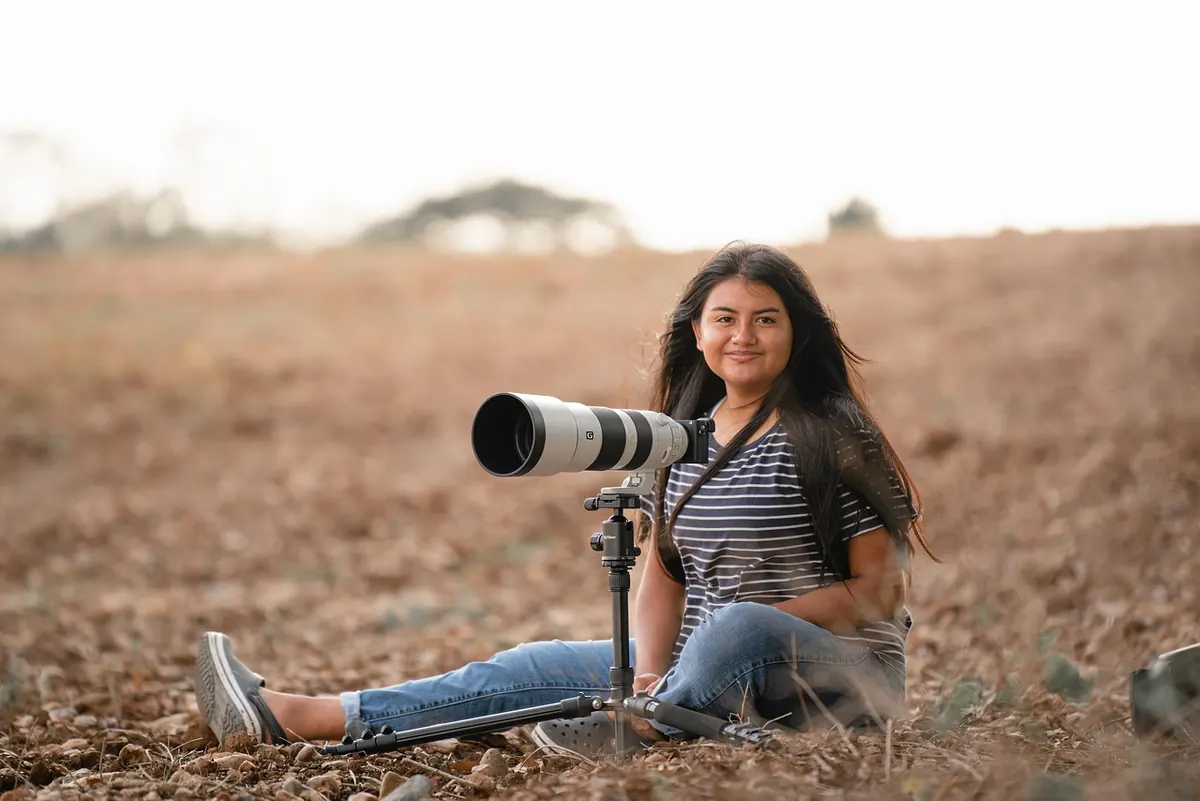
Follies are big, three-dimensional objects in a landscape, and most of the photographs that work are about relationship: tower to hill, temple to lake, ruin to sky. A standard zoom or a modest wide angle covers that well. A telephoto earns its place too, and not just for compression. Many follies cannot be approached closely at all, so a longer lens lets you work from a public footpath or a roadside verge and still fill the frame — a legitimate solution that saves a lot of uncomfortable conversations.
Beyond lenses, the useful things are unglamorous. A tripod for dawn, dusk and long exposures through trees. A polariser to cut glare from stone and deepen a summer sky. A microfibre cloth, because follies sit in weather and so will your front element. Spare batteries kept somewhere warm in winter, when cold drains them faster than you expect. A small torch for the walk back. If all you have is a phone, go anyway: modern phones handle the wide landscape shot perfectly well, and the discipline of working with one frame is good practice.
Timing: Light, Weather and Season
The hour after sunrise and the hour before sunset remain the reliable windows. Low sun skims across stone and picks out texture that flat midday light erases entirely, and long shadows give a lone tower some drama to stand against. Backlighting is worth chasing: put the sun behind the folly and you get a clean silhouette with a rim of light along one edge.
Do not dismiss grey days. Overcast skies act as an enormous softbox, which suits carved detail, inscriptions and interiors of small buildings far better than harsh sun. Mist is a gift — an autumn morning with fog sitting in the valley below a hilltop folly is worth setting an alarm for. Winter brings bare trees, revealing structures hidden all summer, but also short days, so plan your drive carefully.
One habit separates a decent shot from a wasted trip: work out which way the folly faces before you leave the house. A map and satellite view will tell you, and so will any sun-position app. If the sun sets behind the hill you planned to shoot from, you have just saved yourself a wasted evening.
Composition: Walk It Before You Shoot It
Arrive, then resist the first obvious frame. Walk a full circuit. The photograph is often from the side or the back, from thirty metres further away, or from low down with grass in the foreground.
Things worth trying
- Foreground interest: a gate, a stile, a fallen branch, a path leading in. It gives the eye somewhere to start.
- Scale: a person — even a walking companion — turns a curious lump of stone into an obviously enormous tower. Follies were built to impress, and scale is the whole point.
- Symmetry: stand dead centre on the axis of a tower, obelisk or triumphal arch and let it sit squarely in the frame. Save the off-centre version for ruins, where balance matters less than character.
- Framing: shoot through an archway, a window opening or a gap in a hedge. It adds depth and tells the viewer they are somewhere.
- Reflections: a puddle, a lake, a flooded ditch. Half the picture for twice the atmosphere.
- Details: the carved date stone, the worn threshold, the rusted hinge. These carry the story when the wide shot is not cooperating.
Vertical frames suit towers; horizontal frames suit a folly in its landscape. Shoot both and decide later. And do not fear converging verticals — sometimes tipping the camera up deliberately gives a tower the looming quality it deserves.
Access, Permission and Good Manners
Most follies stand on private land, farmland or within a managed estate. Check the map before setting out, note whether the building is in the care of a trust or in private hands, and stick to public rights of way. If a track clearly leads to a farmhouse, ask. A polite request at the door is usually answered kindly, and it is a far better approach than climbing a wall and hoping.
Large estates and heritage organisations often publish photography guidance, and commercial shoots generally need permission arranged in advance — worth checking if you are being paid or using the images to promote anything. For drones, check current Civil Aviation Authority guidance and any local restrictions, and get the landowner's agreement. Scheduled monuments and protected wildlife sites deserve particular care: do not climb on masonry, move stones or trample vegetation for a better angle. Close gates, keep your distance from livestock, take litter home, and keep back from cliff edges on coastal follies — erosion is not always visible from above.
A Pre-Shoot Checklist
- Light: sunset and sunrise times, sun direction, forecast, tide if coastal.
- Access: land ownership, rights of way, opening hours, parking, walk-in time.
- Permission: contact the estate in advance if anything about the shoot is commercial, or if access is unclear.
- Kit: wide and telephoto, tripod, polariser, spare battery, cloth, torch, phone.
- Clothing: boots, long trousers in summer for nettles and ticks, waterproofs, midge repellent in the west.
- Three shots in mind before you arrive: the wide landscape, the close detail, the one you have not thought of yet.
Editing: Restraint Beats Rescue
Shoot raw if you can; the extra headroom in the highlights is exactly what a bright sky needs. Then keep it simple. Straighten the horizon. Correct converging verticals only slightly, or leave them alone. Crop out the distraction you did not notice on location — a bin, a sign, a car — even if that means a square frame around a single tower.
Lift shadows enough to reveal stone texture, pull highlights back so the sky keeps some shape, and add a touch of contrast. Warm the light for honey-coloured limestone at golden hour; leave it cool and blue for dusk silhouettes. Black and white flatters follies enormously, especially in flat light or when the sky is a plain grey sheet and the shape is doing all the work. Avoid heavy HDR and aggressive sharpening, both of which make old stone look like gravel. Then leave the file alone for a week and look again.
Make a Day of It
Folly photography rewards patience rather than enthusiasm. Pick one building, arrive early, walk the ground properly, wait for the light, and accept that you may come home with nothing special. The best shots of follies are usually taken on the second or third visit, when you already know the angles, the access and where the sun will be. Keep a note of what you missed and when to return — and if a footpath, a gate and a low winter sun all line up, you will be glad you made the trip twice.
Photo: RonaldPlett / Pixabay